Unless otherwise stated, this website is not related or associated with any third-party brand. Brands, trademarks, logos, and company names are merely used as examples.


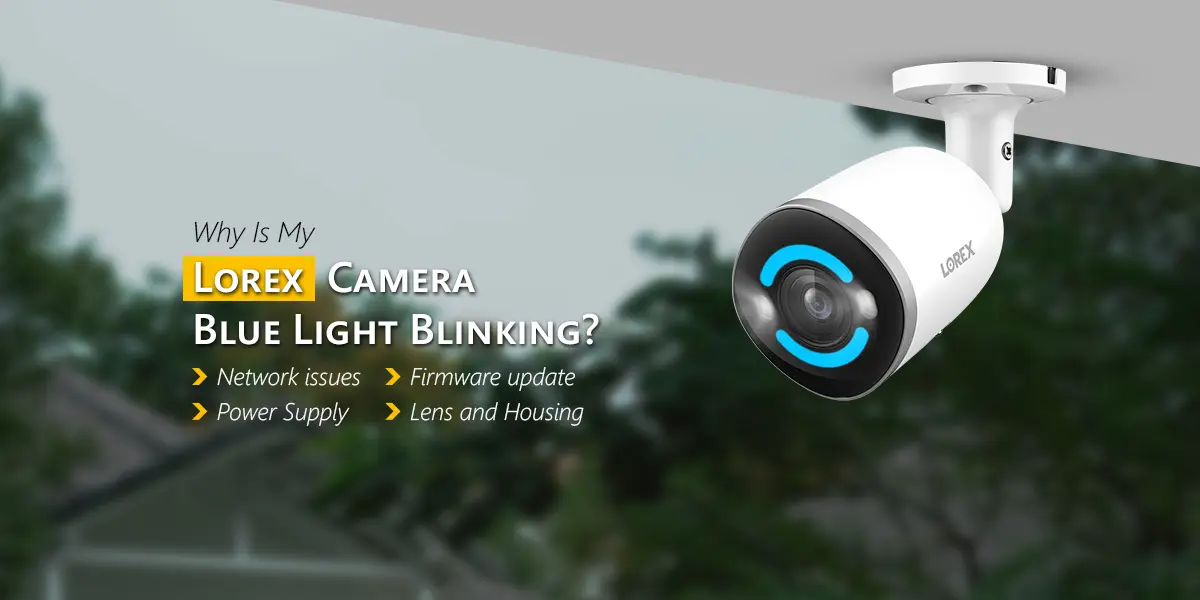
Why Is My Lorex Camera Blinking Blue and How to Fix It?
A Lorex camera or Home Hub blinking blue may be in pairing or setup mode, depending on the model. Open the Lorex app and check whether the device is waiting to be paired.
If setup is already complete, verify the power supply, Wi-Fi connection and app status. Restart the device, if necessary, then follow the model-specific instructions. Do not assume that a blue light has the same meaning across all Lorex products.
Is your Lorex security camera blinking blue and refusing to connect, pair or show live video? The blinking light may be related to setup, pairing or network connectivity. However, its exact meaning depends on your Lorex camera model and whether the light is on the camera itself or a connected Home Hub.
In many cases, you can resolve the issue by completing the setup process, checking the power supply, reconnecting the camera to Wi-Fi or restarting the device. A factory reset should be a last resort, not your first step.
This guide explains what to check, how to troubleshoot a blinking blue Lorex camera and when to contact support.
Disclosure: This is an independent troubleshooting guide. We are not affiliated with, endorsed by or officially connected to Lorex. Lorex is mentioned only to identify the product being discussed.
What Does a Blinking Blue Light Mean on a Lorex Camera?
The first step is to identify which device is blinking. Some Lorex systems include a separate Home Hub, recorder or wireless receiver. An indicator on one of these devices may communicate a different status from the LED on the camera.
For example, Lorex documentation for certain wire-free systems states that the Lorex Home Hub flashes blue while in pairing mode, while the corresponding camera uses a different indicator during pairing. Other camera models use green, red or different blinking patterns to indicate setup and connectivity.
This means you should check the model number and its official LED reference before deciding whether the light is normal.
Common Possibilities to Investigate
What you notice | Possible explanation | What to check |
Blue light flashes during first-time setup | The Home Hub or another supported device may be waiting for pairing | Open the app and follow the setup prompts |
Camera or hub keeps blinking after setup | Pairing or setup may not have completed | Check the app for an incomplete setup message |
Camera appears offline in the app | The device may have lost network connectivity | Check Wi-Fi, power and device status |
Blue light appears after restarting | The device may be starting up or entering a setup state | Wait briefly and check the model’s LED guide |
Light keeps blinking and the camera never comes online | Setup, power, network or hardware issues may be involved | Follow the troubleshooting steps below |
These are troubleshooting possibilities, not a universal LED code. For model-specific information, consult the official Lorex support website.
Why Is My Lorex Camera Blinking Blue?
Several situations may explain the blinking light. Identifying when the issue started can help you choose the right fix.
1. The Camera or Home Hub Is in Pairing Mode
If you have just purchased your camera, reset it or started a new installation, the device may be waiting to pair with its hub or app.
For supported Lorex wire-free systems, pairing requires the correct devices to be in pairing mode and close enough to communicate. Lorex’s instructions for certain systems specify keeping the camera within approximately three feet of the Home Hub during pairing.
What to do: Open the correct Lorex app and follow the setup instructions for your exact model. If the camera pairs with a hub, confirm that both devices are ready for pairing.
2. The Setup Process Was Interrupted
A camera may remain in an unfinished setup state if the app closes, the phone changes networks or the pairing process times out.
This can happen when you switch apps repeatedly or lose the connection while entering Wi-Fi details.
What to do: Reopen the ap, check whether the camera is already listed and continue the setup if prompted. Avoid resetting the device unless the official instructions recommend it.
3. The Camera Has Lost Its Wi-Fi Connection
For Wi-Fi-enabled Lorex cameras, an incorrect password, weak signal, router change or network restriction may prevent the camera from coming online. A blinking blue light alone does not prove that Wi-Fi is the problem. Check whether the app actually reports the camera as offline.
What to do: Confirm the network name and password, test your internet connection and check the Wi-Fi band supported by your model.
4. The Camera Is Not Receiving Stable Power
A loose power connector, damaged cable, unsuitable adapter or depleted battery can interfere with normal operation.
This is particularly important if the blinking started after moving the camera or changing its power source.
What to do: Inspect accessible power connections, check the battery level if applicable and use the power adapter specified for your model. Do not open the camera housing or attempt electrical repairs.
5. The Camera Needs to Reconnect After a Router Change
If you recently changed your router, Wi-Fi name or password, your camera may still be configured for the old network.
Some Lorex models require a specific reconnection procedure rather than simply entering a new password in the app.
What to do: Follow the official network-change instructions for your model. Lorex provides a dedicated guide for certain cameras in its article on reconnecting after a modem or router change.
How to Fix a Lorex Camera Blinking Blue
Try these solutions in order, beginning with the simplest checks. After each step, see whether the indicator changes and whether the camera appears online in the app.
Fix 1: Check the Camera and Hub Status
First, establish exactly which device is blinking. Check whether the blue light is on the camera, Home Hub or another system component. Find the model number on the device label, packaging or product documentation.
Check the official LED reference for that model. Open the Lorex app and look for pairing prompts, connection errors or offline status.
If the light is the expected pairing indicator, you may not need to fix anything. You may simply need to complete setup.
Fix 2: Complete the Pairing Process
If the camera is new or has been reset, use the app to complete pairing.
- Make sure the camera and its compatible hub are powered on.
- Open the appropriate Lorex app.
- Select the option to add or pair a device.
- Follow the on-screen instructions for your model.
- If the system uses a Home Hub, place the camera close to the hub during setup.
- Wait for the app to confirm the connection.
Do not try to pair several cameras at once if your model’s instructions require pairing them individually. If pairing fails, check the app for a timeout or error message before repeating the process.
Fix 3: Restart the Camera Safely
A restart can clear a temporary problem without erasing the device’s saved configuration. For a camera with a detachable power supply:
- Turn the device off using its normal procedure, if available.
- Disconnect its power supply.
- Wait about 30 seconds.
- Reconnect the original or manufacturer-approved power supply.
- Allow the camera to start fully.
- Check the status light and app again.
For battery-powered devices, follow the model’s instructions for restarting. Do not remove a battery or disconnect a cable if the manufacturer advises against doing so.
If the camera is installing a firmware update, do not interrupt the process by disconnecting power.
Fix 4: Check Your Wi-Fi Connection
If the app shows the camera as offline, verify that your network is working.
- Test your Wi-Fi with a phone or laptop.
- Confirm the camera is within reliable router range.
- Move the camera temporarily closer to the router if practical.
- Check whether the router’s network name or password changed.
- Verify that the camera supports the Wi-Fi band you are using.
Some Lorex cameras support only 2.4 GHz, while others support both 2.4 GHz and 5 GHz. Use the specifications for your particular model instead of assuming all cameras support the same bands.
If the camera works close to the router but not in its usual location, signal strength or interference may be contributing to the problem.
If still Lorex camera not working then check our another blog.
Fix 5: Reconnect the Camera Through the Lorex App
If your model allows you to change its wireless network through the app, use that feature rather than immediately performing a factory reset.
Depending on the app and camera, the steps may look like this:
- Open the Lorex app.
- Select the camera.
- Open its device settings.
- Look for Wireless Network, Wi-Fi Network or a similar option.
- Select the correct network.
- Enter the Wi-Fi password and save the changes.
- Wait for the camera to reconnect.
The exact labels differ between Lorex app versions and products. Some models require a temporary device hotspot or a physical reset-button action to start network setup.
If your app does not offer a wireless-network option, consult the camera’s official setup guide rather than following instructions for a different model.
Fix 6: Update the App and Check Firmware
An outdated app or device firmware may cause setup difficulties or prevent some functions from working correctly.
Check the official app store for an available Lorex app update. If the camera is online and its app provides a firmware option, check for updates there as well.
Important: Keep the camera powered on during a firmware update. Do not disconnect it or interrupt the process unless the manufacturer’s instructions tell you to do so.
You can also check our Lorex camera firmware update guide.
Fix 7: Reset the Camera Only If Necessary
A factory reset may help when pairing repeatedly fails or the camera cannot be reconfigured through its normal setup process. However, the reset procedure varies by model. Some cameras require holding a button until an audible prompt or a specific indicator appears; other products use a different process.
Before resetting:
- Check the official instructions for your exact model.
- Confirm that you have the login information needed to set it up again.
- Understand that a factory reset can erase saved settings and require you to configure the camera again.
- Do not use a reset-button timing copied from another Lorex model. A reset may also fail to solve the problem if the cause is a damaged power supply or hardware fault.
Quick Troubleshooting Checklist
Use this checklist to narrow down the issue before attempting advanced fixes.
Check | What to do | When it helps |
Device identification | Confirm whether the camera or Home Hub is blinking | When the light’s meaning is unclear |
App status | Check for pairing prompts or offline messages | When setup appears incomplete |
Power | Inspect the cable, adapter or battery | When the camera repeatedly restarts or stops responding |
Wi-Fi | Verify network credentials and signal | When the camera is offline |
Restart | Power-cycle the device according to its instructions | When a temporary glitch is suspected |
Reset | Use the model-specific factory-reset procedure | When ordinary setup and reconnection methods fail |
If the camera is online and functioning normally, the blinking light may be part of its expected operating or pairing behavior. Use the model’s official LED guide to confirm.
When Should You Contact Lorex Support?
Contact Lorex support if the camera continues blinking blue and will not pair or come online after you have checked the device status, power, network and setup procedure. You should also seek help if:
- The camera does not respond to the manufacturer’s restart procedure.
- The app repeatedly reports pairing failure.
- The camera’s power cable or housing appears damaged.
- The indicator behavior does not match the documentation for your model.
- The device remains offline despite a working network and correct setup.
- A reset fails to restore normal operation.
- Before contacting support, prepare the following information:
- Exact camera and Home Hub model numbers, if applicable.
- The Lorex app you are using.
- Whether the blue light is steady or blinking.
- When the blinking started.
- Any error message displayed in the app.
- Troubleshooting steps you have already tried.
How to Prevent the Blinking-Light Problem From Returning
Once your camera is working a few simple habits can help reduce recurring setup and connectivity issues. Keep the camera within reliable signal range. Avoid placing it behind thick walls or large metal objects if these weaken the Wi-Fi connection. Use the correct power supply. Follow the manufacturer’s power requirements for your model. Update the app when needed. Install official app updates and check firmware when the camera is online.
Document network changes. If you replace your router or change your Wi-Fi password, be prepared to reconnect affected cameras. Keep model-specific instructions handy. Different Lorex cameras and hubs may use different LED patterns and reset procedures.
Avoid unnecessary factory resets. Check the app and basic connections first to prevent losing saved settings.
Frequently Asked Questions
Why is my Lorex camera blinking blue?
The meaning depends on your exact model and the device showing the light. On certain Lorex systems, a flashing blue Home Hub indicator means the hub is in pairing mode. Check your camera’s model-specific LED guide before assuming the light indicates a fault.
Does a blinking blue light mean my Lorex camera is offline?
Not necessarily. A blinking blue light alone does not confirm that a camera is offline. Open the Lorex app and check the camera’s status, then compare the indicator pattern with the official instructions for your model.
How do I stop my Lorex camera from blinking blue?
If the device is waiting for pairing, complete the setup process in the appropriate Lorex app. If the camera is offline, check power and network connectivity. Restart the device if needed and use a factory reset only when the model’s instructions recommend it.
Why is my Lorex camera blinking blue after a reset?
A reset may place a supported device into a setup or pairing state. Open the app and follow the setup process for your model. If pairing does not complete, verify the required hub, network and setup steps.
Can weak Wi-Fi cause a Lorex camera to blink blue?
Weak Wi-Fi can cause connection problems on supported wireless models, but a blue light is not a universal Wi-Fi error code. Check the app’s connection status and your model’s LED reference to determine whether network troubleshooting is appropriate.
Why does my Lorex camera keeps going offline after reconnecting?
Possible causes include weak Wi-Fi, a changed network password, router restrictions, power interruptions or device-specific issues. Check signal strength, confirm the network details and look for available app or firmware updates.
Conclusion
A Lorex camera blinking blue may be waiting for pairing or indicating a setup state, but the exact meaning depends on the device model. Start by identifying whether the light is on the camera or a connected Home Hub. Then check the app, power supply, Wi-Fi connection and pairing procedure.
If the problem continues, restart the device according to its instructions and consult the official model-specific guide before attempting a factory reset. When the indicator behavior remains unexplained or the Lorex camera not connecting to the app, contact Lorex support for further assistance.