Unless otherwise stated, this website is not related or associated with any third-party brand. Brands, trademarks, logos, and company names are merely used as examples.


Lorex camera setup
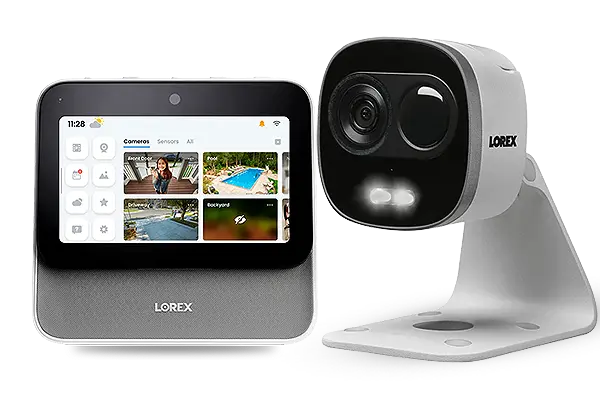
Many users are concerned about family safety because you can’t always be at home to protect your belongings and loved ones. Lorex home app setup acts as your third eye, providing smart home security indoors and outdoors, high-quality camera resolution, clear night vision, a two-way walk, a spotlight, and a siren. Therefore, if you are looking to install a Lorex camera to improve security for everything from a professional business to your home, Lorex is the ideal security solution for you. Whether you are looking for the best guide on Lorex device setup, this page provides it all. Right guidance not only makes your life easier but it also saves your whole day.
Lorex Camera Setup Steps
Following the correct Lorex setup guide will help you with Lorex security cameras wireless setup when you are troubleshooting Lorex IP camera setup and planning about Lorex wifi camera setup. Lorex cameras have become the most prioritized choice of the users because of the features they own. These cameras can be reliably connected to Network Video Recorder (NVR) and provide professional 4K recording and Smart Motion Detection with the help of Lorex setup wizard. Undoubtedly, like other professional cameras, Lorex camera reliably works on a Lorex wifi camera setup, besides this you can also use Lorex camera offline. If you are facing the Lorex IP camera setup issues and are looking for the Lorex setup guide then here in this article you will get a complete guide on Lorex camera setup and Lorex.com login. For setting up the Lorex IP camera setup please follow the given points:-
- First, you have to right-click on the live view, which will further help you to access the quick view.
- Secondly, search and click on the “device search option”.
- After this, the third step you need to follow is to do Lorex device login by filling in your administrator login credentials. Further, for your default Username and Password simply refer to your user manual. When you are done with this, after some time you will see the system will automatically search the network of compatible cameras.
- Now select and click on the camera that you want to add, in case if the camera doesn’t appear in the search results you need to detach the camera for 30 seconds and then reconnect it again.
- Hereafter, when you see that the camera is connected, click “add”, now when you view that the status indicator has turned green then that means the camera is finally connected.
- You can look for saving the changes once it’s done.
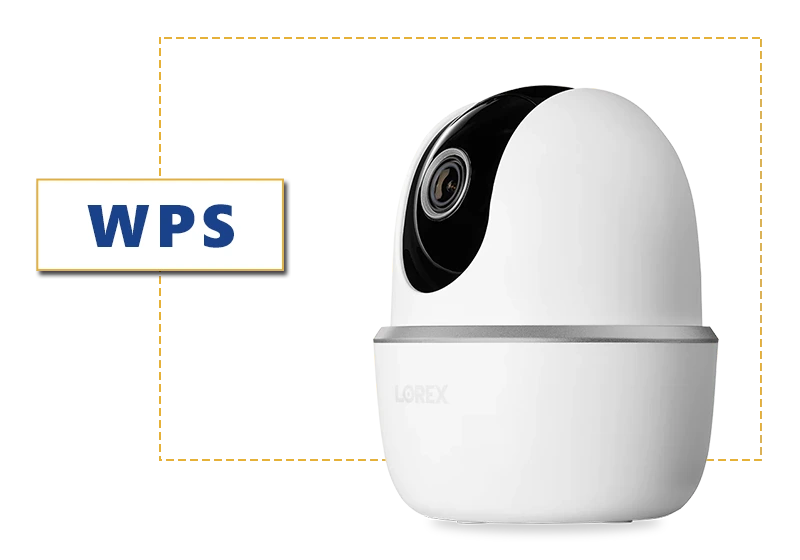
Lorex camera setup WPS
A feature that makes setting up a wireless network easier and more secure is called Wireless Protected Setup, or WPS. Not all Lorex cameras support WPS, yet some may.
- Place the camera inside your router’s Wi-Fi coverage area.
- Attach the camera to an electrical outlet.
- Click the WPS icon on your wireless network.
- If you’re unsure, go to the router’s handbook.
- If the WPS button on your Lorex camera is present, press it within a certain amount of time after clicking the WPS button on the router.
- Permit the router and the camera to connect.
- This could require many minutes.
- After connecting, substantiate that the lorex camera setup went smoothly by looking through the camera or using the Lorex app.
Lorex camera setup manual
Setting up Lorex cameras manually involves configuring the camera with the appropriate settings for your network. Here’s a general guide for manual lorex camera setup:
- Position the camera within the Wi-Fi range of your router.
- Connect the camera to a power source.
- Use an Ethernet cable to connect for the initial lorex camera setup
- Allow the camera to reboot.
- Use the camera’s interface or the Lorex camera setup app.
- Consult the camera’s manual for port forwarding details.
Lorex camera setup common issues
- Problems with the Connection
- Inactive Camera
- Issues with Wi-Fi Connectivity
- erroneous camera settings
- Problems with Passwords
- Distance Learning and Port Forwarding
- Update the camera's firmware
- Issues with Mobile App Connection
- Problems with the quality of the camera image
- Other Device Interference
- Conflicts with IP addresses
Lorex camera setup password
- You will be required to set a password either at the initial lorex setup or the first time you visit the camera interface.
- To access the web interface of your Lorex camera, use a computer or other device that is connected to the same network as the camera.
- Enter the password and default username that are listed in the camera’s handbook.
- Find the “Settings” or “System” menu in the interface of the camera.
- Look for the “Change Password” or a comparable menu item.
- After entering the existing password, create a new one.
- Observe any password complexity criteria that may be stated, such as using a mix of special characters, digits, and letters.
- Save the modifications once the new password has been specified.
- You could receive a request from the camera to re-enter your login information.
- Save a copy of the new password in a safe location.
- If you forget the password, you can have trouble getting into your camera system.
Lorex camera troubleshooting steps
- Make that the network and power are working properly.
- Examine the cords for any damage.
- Turn the router and camera back on.
- Check the power and network connections as a solution.
- Restart the router and camera.
- Look for incompatibilities between the camera’s IP address and other devices.
- Examine the strength of the WiFi signal.
- Use a Wi-Fi extension or move the camera.
- Substantiate that you have the right Wi-Fi login.
- Check port forwarding, IP address, and Wi-Fi settings twice.
- Substantiate that your password and username are accurate.
- If necessary, reset the camera to its original configuration.
- Set the router’s port forwarding configuration.
- Verify the firewall’s settings.
- Substantiate that the remote viewing configuration for the Lorex app is accurate.
- Visit the Lorex website to see the most recent firmware changes.
- If available, update the firmware of the camera.
- Substantiate that the Lorex app is up to date as a solution.
- Verify the app permissions in the device’s settings.
- If needed, reinstall the application.
- Modify the resolution and image quality of the camera.
- The camera’s lens should be cleaned.
- Substantiate that the lighting is appropriate.
- To prevent conflicts, give the camera a static IP address.
- Look for duplicate IP addresses in the router’s device list.
Lorex camera firmware update
- Navigate to the settings on the camera’s web interface to identify the firmware version that is currently in use.
- Navigate to the support or downloads part.
- Find the model of your camera
- Get the topical firmware
- On your PC, download the firmware file.
- Move the firmware file to a FAT32-formatted USB device.
- Using the camera’s settings, insert the USB disc into the device and start the firmware update.
- Give the camera time to finish updating. Don’t turn off the power at this time.
Note : You can use the Lorex Setup Wizard to guide you through the firmware update
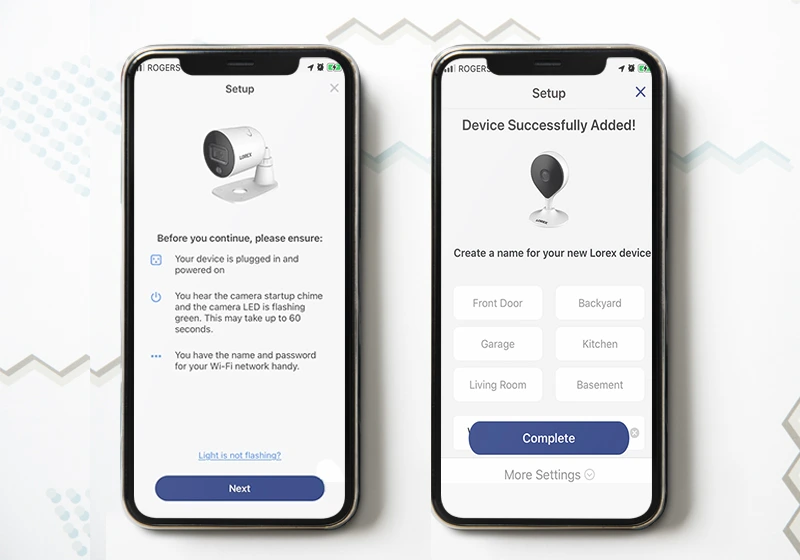
How to setup lorex camera on phone
- From the Play Store or App Store, download and install the Lorex app.
- Launch the application, register for a Lorex account
- Choose the model of your camera by tapping “Add Device”. As directed by the screen.
- During setup, substantiate that your phone is connected well
- Follow the in-app directions to configure the camera to finish the setup.
- Once configured, your phone can be used to see your Lorex camera feed remotely.
Lorex camera wifi setup
- Substantiate that every part is there.
- Attach the camera to an electrical outlet.
- Use lorex setup wizard for more details
- Put in the password and network name (SSID) for your WiFi.
- Set the Wi-Fi network’s security to WPA or WPA2.
- Allow the camera to restart after saving the Wi-Fi settings.
- Configure remote access for mobile viewing using Lorex Cloud or port forwarding.
- In case you want model-specific troubleshooting, refer to the user manual of the camera.
Steps to connect Lorex camera to WiFi
In comparison to other cameras, the Lorex wifi setup is the easiest and fastest process only if you follow the right instructions. You might face the Lorex device setup issues only in the case when you are connecting the camera to wifi for the first time or you are constantly changing from one wifi connection to another. No matter, what you are upto but with these simple understandable steps you can easily execute the Lorex wifi setup process:-
- First and the foremost, press the reset button and activate the hotspot of your Lorex camera.
- Now, open your installed Lorex home app and simply click on the “device settings icon”.
- After this, scroll down to the menu and here choose "Wireless Network” and further Tap “Next”.
- Once you get the prompt on the screen to join the Wi-Fi network, click on "Join".
- It's time for you to let your device connect to the device and finish the Lorex wifi setup.

How to change WiFi on Lorex camera
Are you planning to change wifi for a Lorex camera? Then you are at the right place. Follow these steps below:-
- To unlock the camera hotspot, press and hold the Reset button once for a few seconds.
- Open the Lorex app on your phone, then choose the device settings icon.
- Then scroll down your device and select the “Wireless Network” option.
- Select the “Next” option on the same page.
- Tap join to connect with the temporary Wi-Fi network.
- Allow your device to attach to Device Hotspot first.
- Now you have to enter “Device Password” to continue this process and tap on Next option.
- Now choose the permanent Wi-Fi Network to connect with your devices, and tap the “Connect” option.
- Type your current Wi-Fi password and then select the “Connect” button.
- You will notice the camera LED light turn into dark green and then select the ‘Next’ option to complete this process.
how to factory reset lorex camera
Almost all the Lorex IP cameras have a reset button that enables you to reset your Lorex camera and you can easily do it by just pressing the button. But if your camera does not have a reset button and you need to reset your Lorex camera IP setup to default settings then you can perform it by following the complete guide below:-
- Be sure that your Lorex camera is correctly connected to the NVR through the Ethernet cable.
- Secondly, by using your finger, press and hold the back of the camera.
- Based on your camera, if you cannot find the reset button located on the back of your camera then you can follow the user manual guide.
- When you find the button, firstly press it and then disconnect the ethernet cable and then again connect it. Hereafter, don’t leave the button for 15 seconds.
- Now, release the button after 15 seconds and then recheck the camera settings and then restart. However, the restart step may take a couple of minutes.
This is the complete Lorex security cameras wireless setup, if in case you see that your camera is connected and you cannot see green light then the factory reset is the suitable solution.
FAQs
To set up the lorex wireless camera you need to install the Lorex app on your phone and create an account. Using the Lorex app you can access and manage the lorex camera wifi settings easily. Then allow the Lorex app to establish connection with Wi-Fi directly to your camera. For the set by step guidance you can check our website.
The answer is Yes. To configure the system, you must have a monitor connected to the DVR to set up the system. Then you can enjoy the camera footage without connecting to the internet.
Yes, you can change the wifi connection to modify the wifi setting through the Lorex home app. Simply ensure that your wifi is turned on at the time you are transferred to the new wifi connection, and also that your camera is still within wifi signal range.
You can face multiple technical errors while the lorex camera is not connecting to wifi. You need to verify if your camera is plugged into the wall socket properly or not. Otherwise unplug the camera and leave it for 1-2 minutes unplugged. Then plug in back and wait a few moments while the camera comes back online. If still not connecting to wifi you can ask technical experts to fix this issue.
Due to incorrect password you can’t login into Lorex camera. But there are many reasons you can’t login to Lorex cameras, like your wifi signals are weak or your camera is facing other technical issues. Don’t worry, contact Technical Support for a reset password.
The Lorex home app is completely free for both Android and iOS users. So you can install without any doubt on your device and can view live video or voice recording from your security cameras. Despite the fact that you can change the camera settings no matter where you are. Also you can ask our technical team to assist you.
There are three Lorex camera app for users i.e. Lorex Cloud, Lorx Home, and Lorex Cirrus. You can also reach out Lorex Technical team for further assistance.